How to Crop an Image – 5 Secrets of Professional Cropping

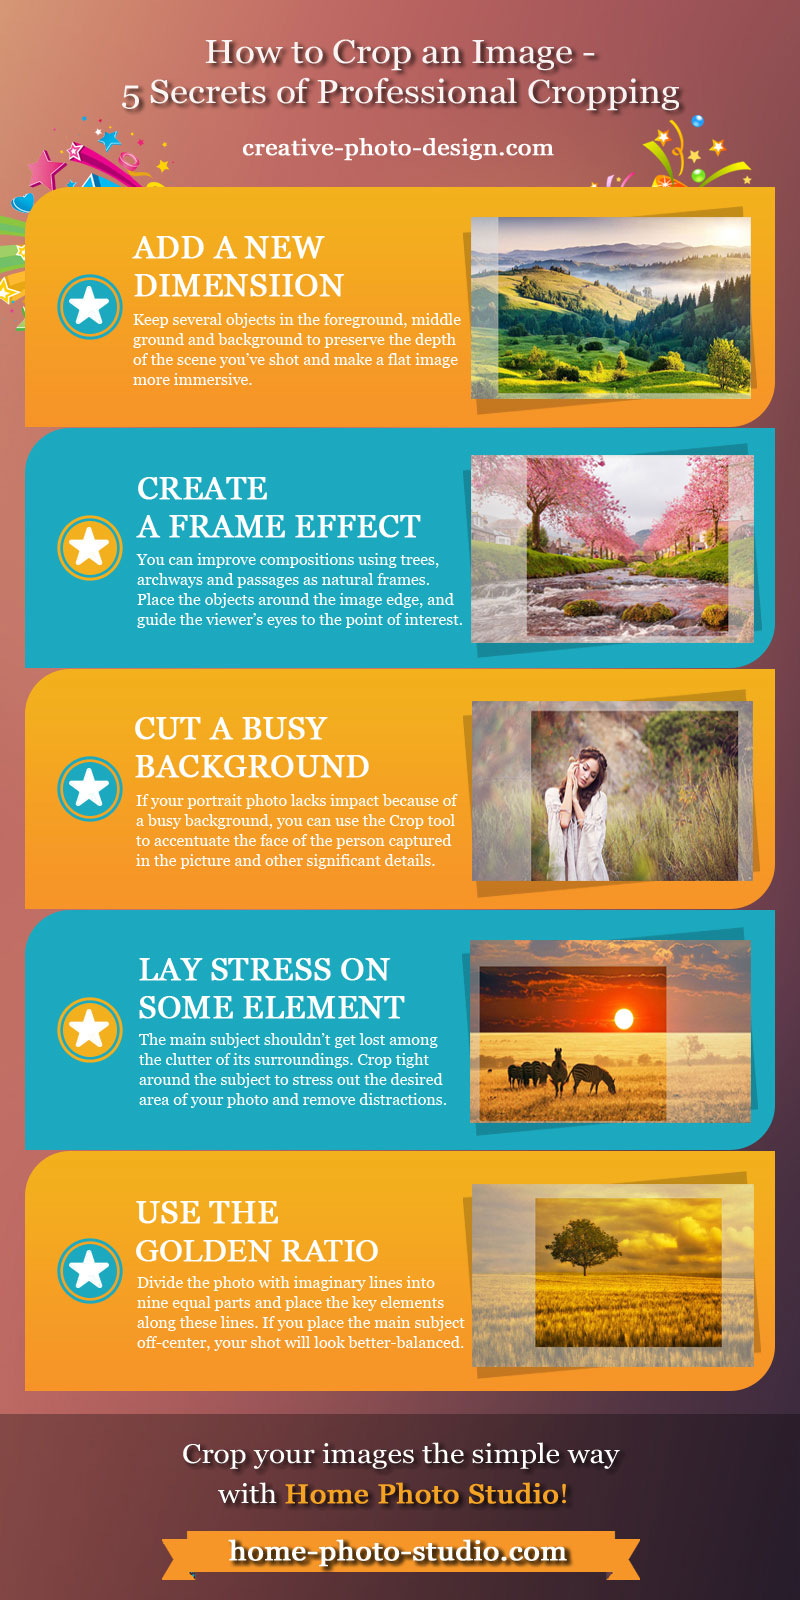
Have you ever been dissatisfied with the photo that you so carefully composed? I’m sure you’ve also experienced this kind of frustration. Thankfully, there’s a way to avoid this problem in the future. I’m talking about cropping which can fit an image to fill a frame, remove a portion of the background to emphasize the subject, and make your photos more balanced. Being armed with plenty of editing tools to trim or eliminate the picture edges, you may still need a few tips on how to crop an image in the right way and get breathtaking shots.
While searching for the best photo editing application, I’ve come across Home Photo Studio (http://home-photo-studio.com) equipped with the Crop tool that enables you to change the size and proportions of your pictures. Here I’ll shed some light on how to use the app to give your photos a natural balance, highlight their key parts, or guide the viewer’s eye through the image.
Add a New Dimension to Your Images
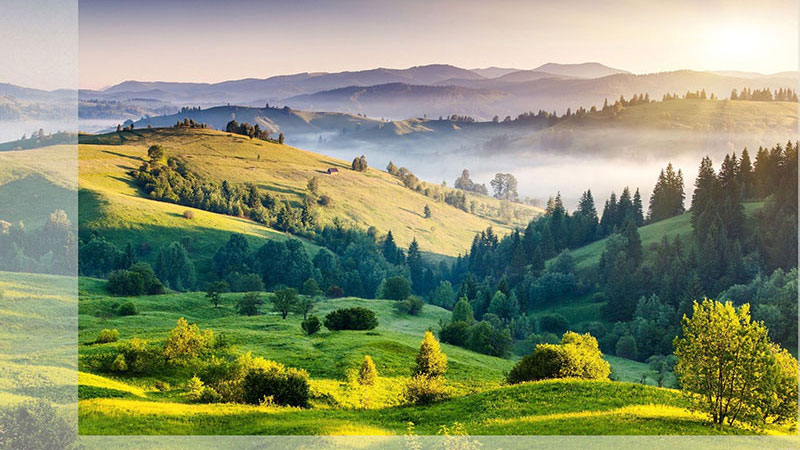
The right composition is of great importance when you want to turn a merely good landscape photo into a great shot. When you keep several objects in the foreground, middle ground and background, you preserve the depth of the actual scene and make a two-dimensional picture more immersive. Cropping helps to highlight all possible lines like zigzagging roads or the ragged outlines of mountains. With the human eye drawn along lines, viewers get pulled right into the picture.

Before cropping consider the photo perspective to enhance its depth
Create a Frame Effect to Guide the Viewer’s Eyes
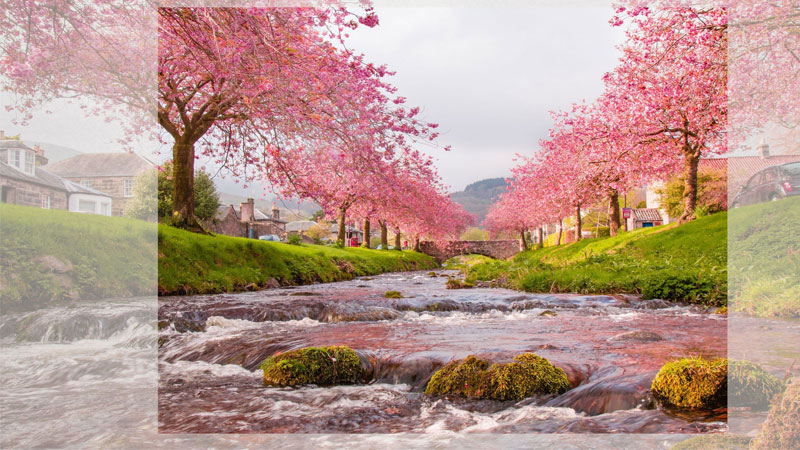
If you know how to crop an image, you can easily stress out the symmetry and patterns of the objects depicted on your photo. For example, it’s possible to improve compositions with the help of perfect natural frames, such as trees, archways and passages. Place these objects around the edge of the image, and the viewer’s attention will be drawn to the main point of interest. This kind of cropping is perfect for urban landscapes since they combine straight lines and geometrical forms.

Adding a ‘frame’ will make your image more focused
Cut a Busy Background around a Portrait Photo
With every single photo, it takes certain time to think about a perfect shooting angle and find a plain and unobtrusive background. This is especially true for portrait photography. If you’ve taken a seemingly great picture and then realized the result lacks impact because of a busy background, the image can still be saved editing. Thanks to the Crop tool you can compose the photo that does not distract or detract from the subject. In case a picture of a person is too large, cropping will help to accentuate their face and other significant details.

Make a fabulous portrait photo with a special stress on the face of the person you shot
Lay Stress on a Distinct Photo Element
How to make a photo that leaves a lasting impression on its viewers? It’s the right accent that makes all the difference. Even a gorgeous panoramic photo can look bleak because the main subject is too small and practically unseen among the clutter of its surroundings. By cropping tight around the subject you emphasize the desired area of your photo and remove distractions. That way you can turn extended horizontal photos into vertical or square ones.

Crop tight around the subject to delete the background noise and highlight the desired area
Crop Your Photo by Means of the Golden Ratio
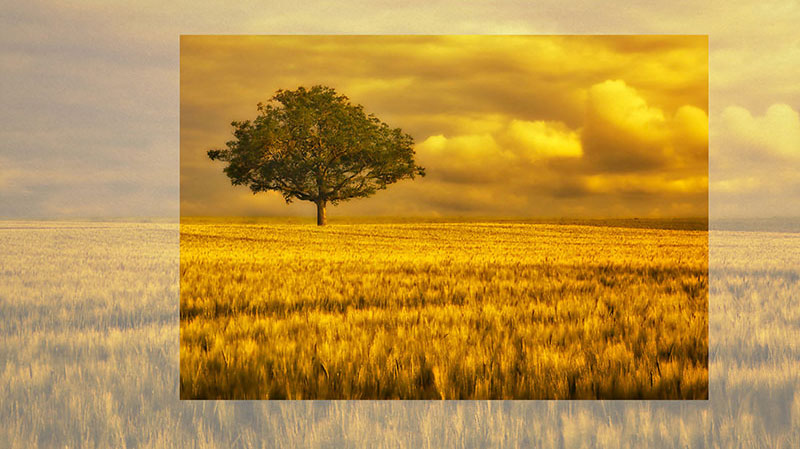
The golden mean is among the most-used and efficient photography tricks. After you’ve divided your photo with imaginary lines into nine equal parts, you should place the key elements along these lines, or at the point of their intersection. In case you position the main subject off-center, your shot will look more whimsical and better-balanced. While doing so, though, include another object of lesser importance so that the scene doesn’t look empty.

Balance the scene you’ve captured by means of the ‘golden mean’
While writing this guide, I was trying to provide you with useful tips on how to crop an image to fix the composition, remove unwanted or ruined parts, change default proportions, and add a new dimension to otherwise flat imagery. However, photography is a creative process, and there are much more professional secrets of photo editing. If you know some other techniques to improve compositions, please leave your comments and suggestions!


